Professional Paver Cleaning on Long Island | Power Washing & Restoration
What looks like a surface problem is often something deeper. Here's what professional paver cleaning actually involves — and why it matters on Long Island.
Share:

Summary:
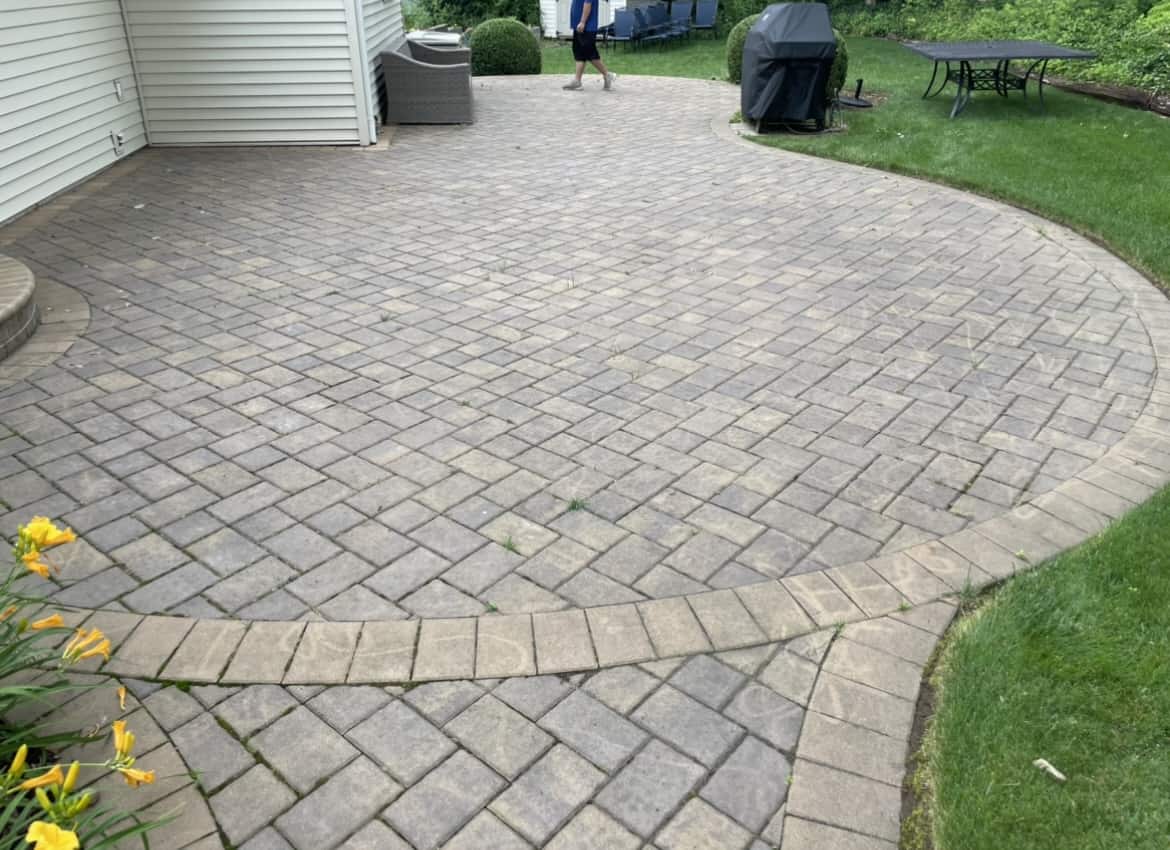
Your pavers probably looked great when they were first installed. Now they’re a different story — stained, green in spots, weeds pushing up through the joints, maybe a few that have shifted or sunk. You’ve been meaning to do something about it, but between not knowing who to call and not being sure what you actually need, it keeps getting pushed to next weekend.
We get it. At Paver Savers, we’ve been working with Long Island homeowners and businesses for years, and the questions we hear most often aren’t about price — they’re about whether the job is even worth doing, what it actually involves, and whether the results will hold. Here’s what you need to know.
What Professional Paver Cleaning Actually Involves
A lot of people assume paver cleaning is just pressure washing — point a wand at the surface, knock the dirt loose, done. That’s not what professional paver cleaning looks like, and it’s not what produces results that last more than a season.
The real process is multi-step, and each step has a specific job to do. Skipping any one of them is usually why homeowners end up back at square one six months after a so-called cleaning.
Why Pavers Need More Than a Basic Power Wash
Here’s what the full process actually looks like when it’s done right. It starts with a proper assessment — looking at the paver type, the condition of the joint sand, whether there’s any structural movement, and what kind of contamination you’re dealing with. That matters because concrete, brick, and natural stone each respond differently to cleaning agents and pressure levels. One approach doesn’t fit all three.
From there, we use commercial-grade hot water pressure washing equipment. Not the kind you rent from a hardware store for a weekend project — machines that operate at significantly higher temperatures and pressure, calibrated specifically for the paver material being cleaned. The heat matters because it penetrates the pores of the paver and lifts embedded grime, algae, and biological growth that cold water simply pushes around.
If there’s efflorescence present — those chalky white mineral deposits you see on concrete and brick pavers — that requires its own chemical treatment before or during the cleaning process. Efflorescence isn’t surface dirt. It’s a mineral deposit caused by water moving up through the paver base and depositing calcium salts on the surface. Pressure alone won’t remove it, and if it’s not treated properly, it comes right back.
After cleaning, the joint sand gets addressed. This is the step most people don’t think about, and it’s the one that makes the biggest difference in how long the results last. Old, eroded, or weed-infested joint sand gets removed and replaced with polymeric sand — a high-performance material that, once activated with a precise water mist, hardens in the joints to resist erosion and block weed growth. This is why the weeds keep coming back after a basic cleaning: the sand in the joints has broken down, and nothing is stopping seeds from taking root.
The final step is sealing. The right sealer — chosen based on the paver material and the client’s preference for finish — gets applied over the cleaned, re-sanded surface. It repels water, protects against oil and salt infiltration, stabilizes color, and creates a barrier against the kind of biological growth that makes pavers look neglected in the first place.
Why Renting a Pressure Washer Usually Makes Things Worse
This comes up constantly, and it’s worth being direct about: renting a consumer-grade pressure washer and going at your pavers yourself is one of the most common ways homeowners create a bigger problem than they started with.
The issue isn’t effort — it’s equipment and technique. Consumer pressure washers aren’t calibrated for paver surfaces. Too much pressure at the wrong angle strips the polymeric sand right out of your joints, leaving them open to weeds, water infiltration, and ant activity almost immediately. You might not notice it right away, but by the following spring, you’re dealing with more weed growth than you had before, and now the joints need to be completely re-sanded on top of everything else.
The second problem is sealer. A lot of homeowners who go the DIY route pick up a bottle of sealer from a home improvement store and apply it after washing. If the surface wasn’t cleaned to the right standard — if there’s residual algae, moisture trapped in the pores, or efflorescence that wasn’t treated — the sealer locks all of that in. You end up with hazing, bubbling, or a sealer that starts peeling within a season, and now the surface has to be stripped before it can be properly sealed.
There’s also the question of the right sealer type for Long Island’s climate. Solvent-based sealers can look great initially but tend to perform poorly in humid conditions. Water-based, breathable sealers are generally the better fit for this region — they allow moisture to escape rather than trapping it under the surface, which is particularly important given how much moisture Long Island pavers absorb through the spring thaw and summer humidity. Getting that choice wrong means redoing the job sooner than you should have to.
Why Long Island's Climate Accelerates Paver Damage Faster Than Most Regions
Long Island isn’t a gentle climate for outdoor hardscaping. Between the winters, the coastal exposure, and the humidity, pavers here face a combination of stressors that accelerates wear faster than homeowners typically expect — especially on installations that are 15 or more years old.
Understanding what’s actually happening to your pavers helps explain why regular maintenance isn’t optional if you want to avoid a much more expensive conversation down the road.
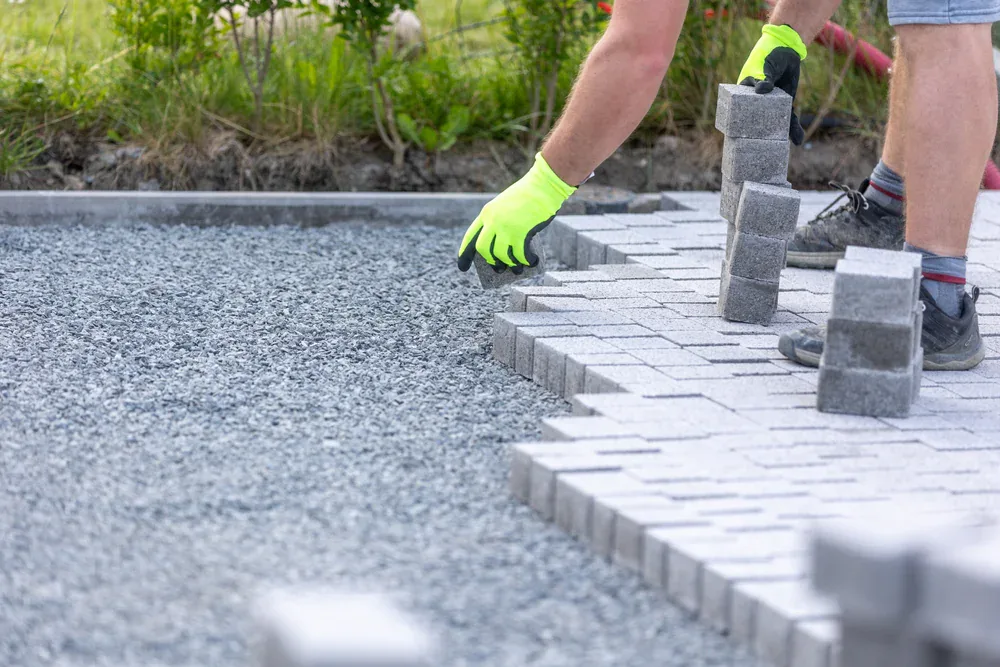
How Long Island's Freeze-Thaw Winters Damage Pavers From the Inside
Every winter, Long Island pavers go through repeated freeze-thaw cycles. Water gets into the joints and the pores of the paver material itself, freezes, expands, and exerts pressure from within. We’re not talking about a minor force — frozen water inside a paver joint can generate up to 25,000 psi of internal pressure. Over multiple cycles, across multiple winters, that’s enough to crack paver material, destabilize joint sand, and shift the entire surface.
Sealed pavers handle this significantly better. The sealer creates a barrier that limits how much water can infiltrate the surface and the joints in the first place, which means less expansion, less pressure, and far less cumulative damage over time. Unsealed pavers, on the other hand, absorb water freely — and every winter compounds the damage from the one before.
This is also why cleaning without sealing is an incomplete job, particularly if you’re heading into fall. Getting your pavers cleaned and then leaving them unsealed going into a Long Island winter means they’re absorbing water at full capacity right when the freeze-thaw cycle is about to start. The cleaning step prepares the surface. The sealing step is what actually protects it.
Beyond freeze-thaw, winter de-icing salt is a factor across both Nassau and Suffolk Counties. Salt and calcium chloride applied to driveways and walkways penetrate unsealed paver surfaces and cause spalling, surface staining, and accelerated joint sand erosion. It’s a universal Long Island problem — not just a coastal one — and it’s one of the primary reasons pavers that looked fine in October look noticeably worse by March.
Salt Air and Humidity: Why South Shore Pavers Deteriorate Faster
If you’re in a South Shore community — Long Beach, Atlantic Beach, Oceanside, Massapequa, Bay Shore, or Islip — your pavers are dealing with something inland Nassau homeowners aren’t: year-round salt air exposure from the Atlantic. Salt air doesn’t just affect the surface. It accelerates oxidation on all outdoor materials, including concrete and natural stone pavers, and it does it continuously, not just in winter.
For homeowners along the South Shore, the maintenance window is tighter. Pavers that might hold up for several years without intervention in a place like Plainview or Bethpage can show significant degradation in a fraction of that time closer to the water. Regular cleaning and sealing isn’t a luxury in those communities — it’s what keeps a restoration job from becoming a replacement job.
Long Island’s summers are warm and wet, which creates ideal conditions for algae, moss, and mildew growth on paver surfaces — particularly in shaded areas under tree cover. Many established Nassau County neighborhoods have significant canopy, and those shaded paver surfaces stay damp long after the sun comes out. That moisture, combined with organic material from leaves and debris, is exactly what algae needs to take hold. What starts as a faint green tint can become a slick, dark biological layer within a single season if it’s not addressed.
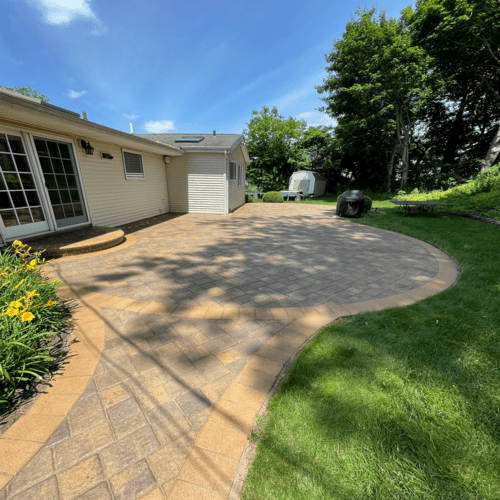
The good news is that none of this is irreversible. We’ve restored pavers that were 15 and 20 years old and left them looking the way they did when they were first installed. The key is catching the problem at the cleaning and restoration stage rather than waiting until replacement is the only option left — because at $15 or more per square foot for new pavers, that conversation gets expensive quickly.
Ready to Restore Your Long Island Pavers?
If your pavers are stained, weedy, shifting, or just look nothing like they used to, you don’t need to wonder whether it’s worth fixing. In most cases, it absolutely is — and the cost of professional cleaning, restoration, and sealing is a fraction of what replacement runs.
What you do need is someone who actually knows what they’re doing, shows up when they say they will, and explains the process clearly before the work starts. That’s what we focus on at Paver Savers. With nearly 50 years of combined experience serving homeowners and businesses across Nassau and Suffolk Counties, we’ve seen just about every paver condition Long Island can produce — and we know how to bring them back.
Reach out to Paver Savers for a free, no-obligation consultation. We’ll take a look at what you’re working with and give you a straight answer about what it needs.
Article details:
- Published by:
- Paver Savers
- Published to:
- Last modified:
- October 20, 2026
Share:
Continue learning: