Paver Sealing After Installation In Suffolk County, NY: A Homeowner’s Guide
New pavers in Suffolk County still need a plan. Here's what to clean, fix, and seal first, and why the first winter matters most.
Share:
Summary:
Your new driveway or patio is finished. The crew packed up, the pavers look sharp, and nobody mentioned what happens next. If you’re in Suffolk County, that gap matters, because a Long Island winter is coming for those fresh joints in advance of any freezing temperatures. Paver sealing is the step most people hear about late—usually after the sand has washed out or the weeds have moved in. This guide walks through what to do first, how sealing gets done, when to book it on Long Island, and how to tell a real process from a quick spray.
What Should You Do After Your Suffolk County Driveway Is Paved?
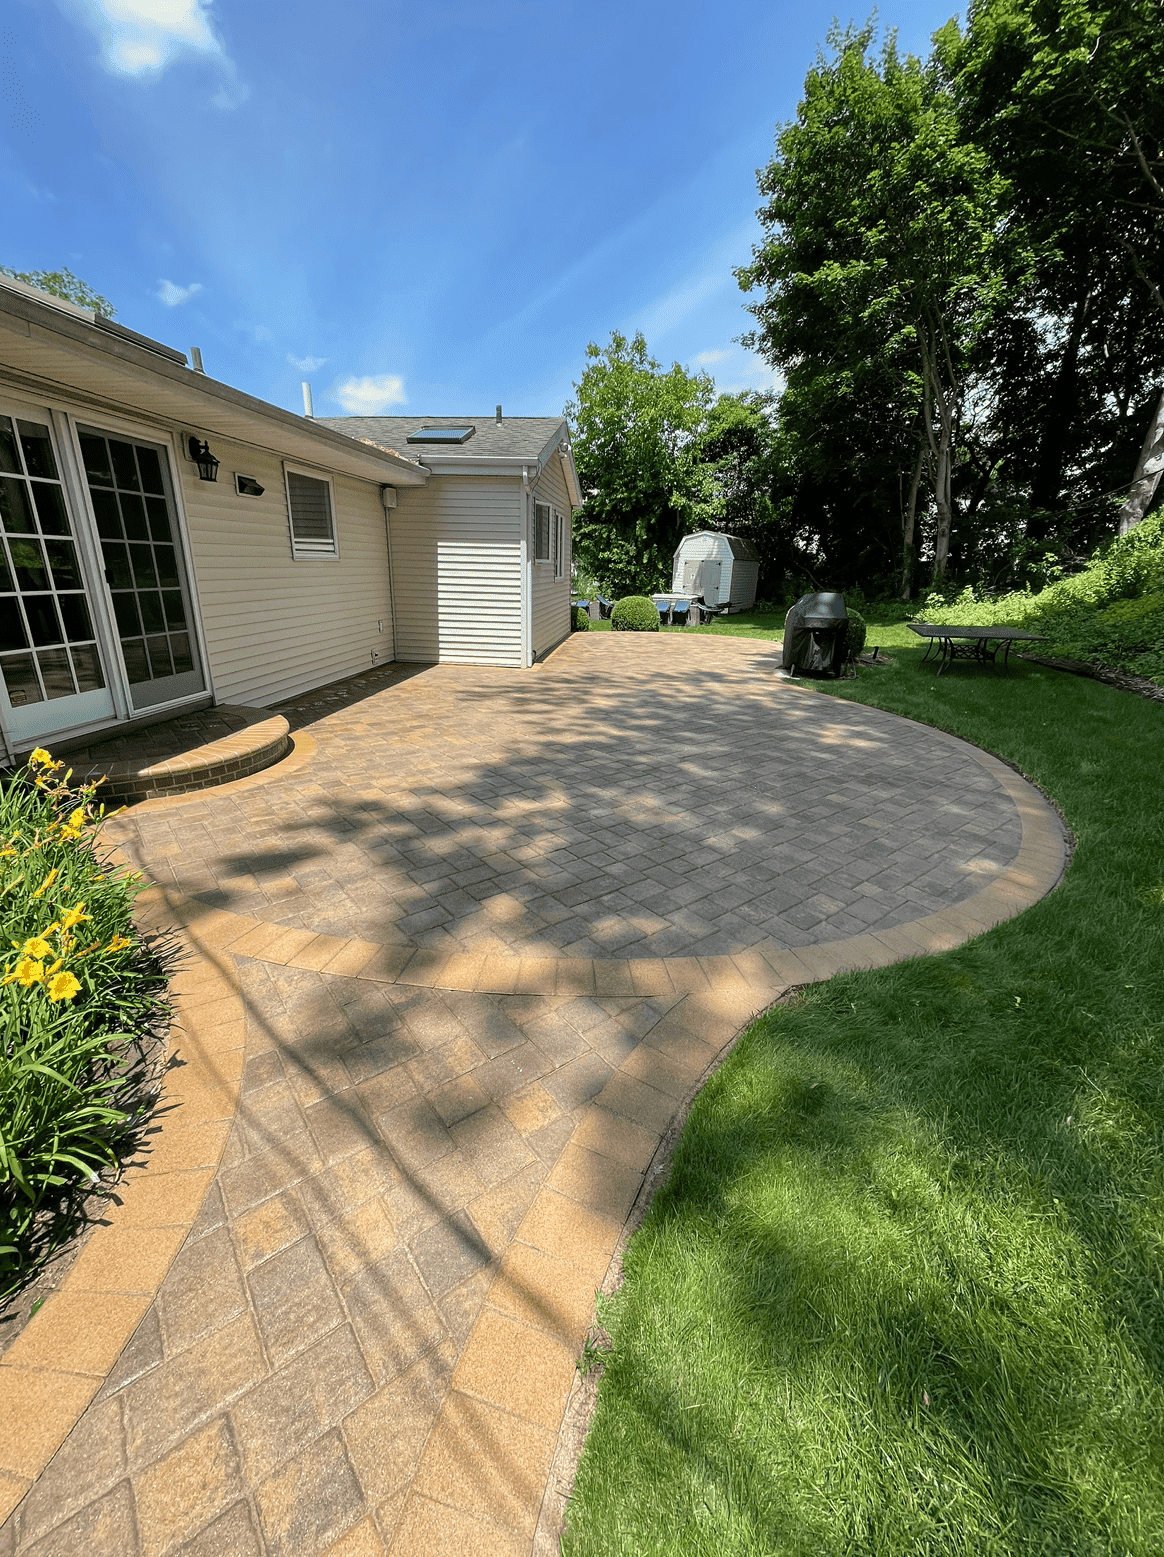
Start by looking at what you have on your property. Fresh pavers usually come with loose joint sand, some dust left over from cutting and compacting, and no protection of any kind. That’s normal. It’s also the most vulnerable your surface will ever be.
Before anything gets sealed, the surface should be cleaned so the sealer can soak in properly, and the joints should be checked and filled. Then comes the sealing itself, timed so it has a chance to cure before the cold sets in. Rush or skip any of those steps and you can end up with cloudy pavers or joints that give out by spring.
A lot of homeowners across Suffolk County (in West Babylon, Bay Shore, Smithtown, and beyond) are in this exact spot: the install went fine, but nobody planned the next step.
Do New Pavers Really Need To Be Sealed Right Away?
Honestly, not always the same week, and not every paver needs it. Some pavers come with protection built in at the factory, and sealing adds cost, needs reapplying down the road, and can deepen the color a bit.
Here’s where we land, though. On Long Island, your surface is going to face salt, moisture, and repeated freezing, and the joints are the weak point. New joint sand can wash out or sprout weeds before you’ve had a full season with the driveway. Sealing, paired with polymeric sand, locks that sand in place. That’s what most homeowners care about once they’ve watched weeds come up between brand-new pavers.
How soon you can seal depends on the paver and on how the installer finished the job, so we prefer to look at it in person rather than hand you a number that may not fit your driveway. What we can say for certain is the order: even brand-new pavers should be cleaned first, because cleaning opens the surface so the sealer penetrates better. Otherwise, dust and installation residue get sealed right in.
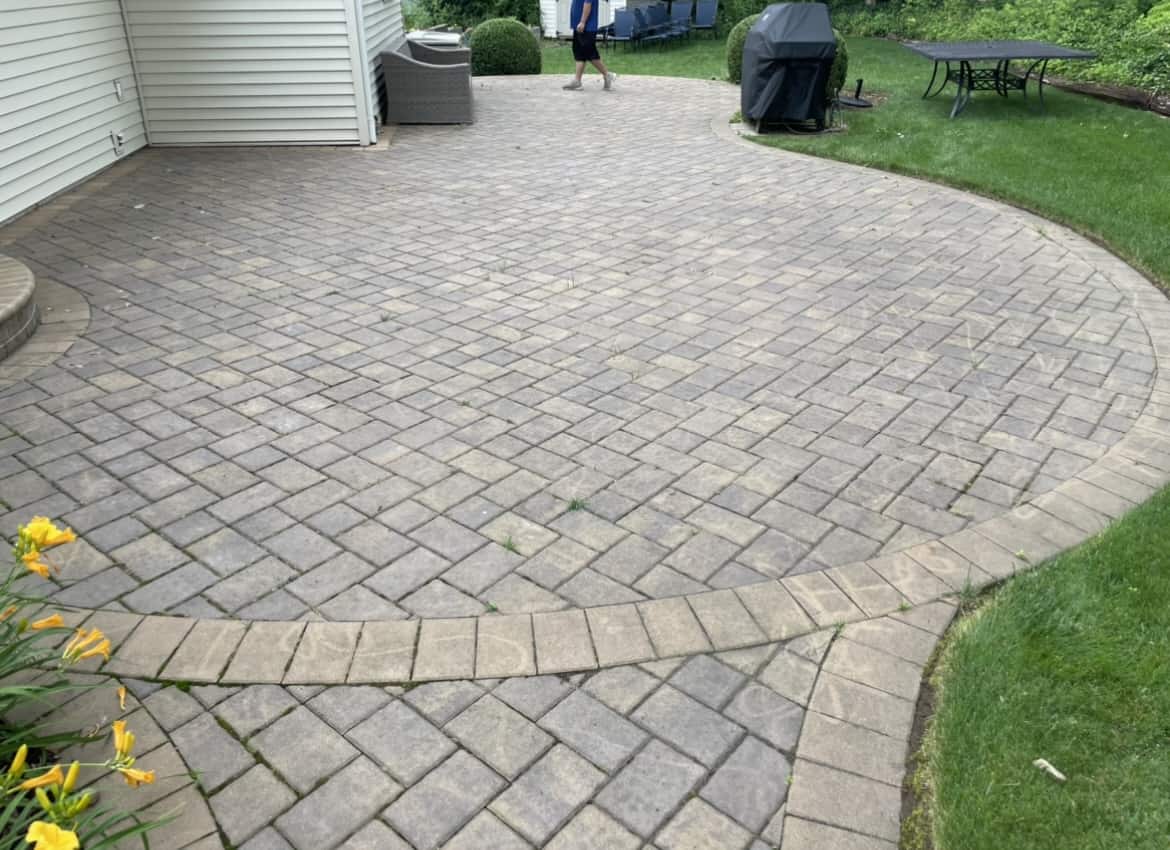
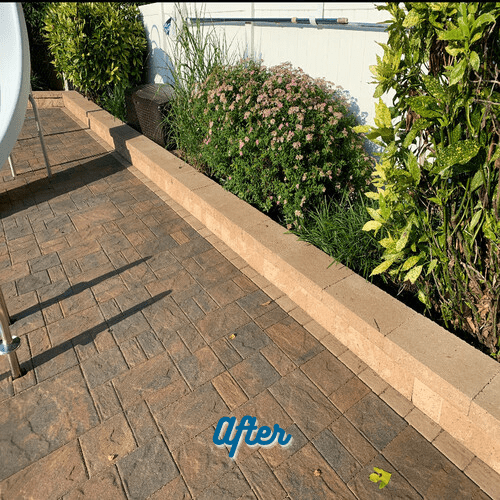
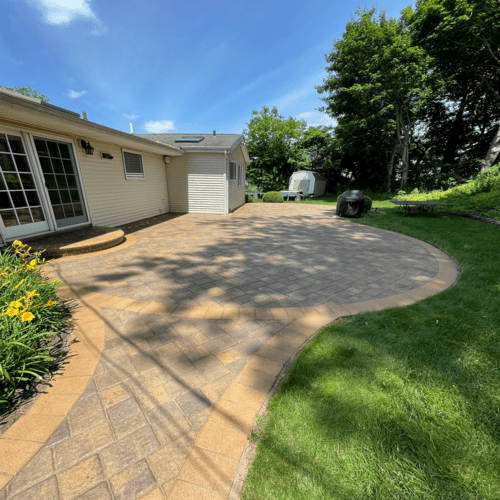
If your driveway is a few years old, with faded color, oil marks, or white crusty buildup called efflorescence, the answer shifts. Sealing over those problems traps them. We’ve removed stubborn efflorescence from Long Island pavers before sealing, and customers have told us pavers 10 and even 20 years old came out looking brand new. It’s rarely too late, but the cleaning matters more the older the surface gets.
How Does Paver Sealing Work On A Long Island Driveway?
The short version is clean, dry, fix, fill, seal, cure. The longer version is where jobs succeed or fail.
First comes cleaning, which means pre-treating stains and pressure washing the surface and the joints. Then the pavers have to dry completely. Sealing damp pavers is one of the most common mistakes, and it leaves a white haze trapped under the finish that you can’t simply wipe off.
Next we look for settled or uneven pavers and level them, because a sealer won’t fix a base problem. Once that’s done, polymeric sand goes into the joints and the surface gets blown off thoroughly. Leaving extra sand on the paver faces is another classic error, it turns into white, grout-like lines once the sealer goes over it.
Only then do we seal. You’ll choose between a natural, matte look that soaks in and a film-forming finish with more sheen and a deeper, wet-look color that sits on top and offers the most protection. A pool surround or walkway may call for a different choice than a driveway, so we talk through the finish with you rather than assume.
On bigger jobs the work often spreads over a few visits, and we tell you what’s happening on each one. That’s what our customers mention most: knowing what comes next, getting updates along the way, and having the schedule shift sensibly when the weather doesn’t cooperate.
Why Your Pavers’ First Suffolk County Winter Matters
Concrete pavers are built tough, but they’re still porous. Water works its way in, and when it freezes it expands by about 9 percent. Long Island winters swing above and below freezing roughly 30 to 40 times, so that cycle repeats again and again.
Add de-icing salt on your driveway and walkways, and the stress piles up. A sealer slows water and salt from soaking into the pores, where salt can crystallize and break down the surface from the inside.
It won’t make pavers invincible. Sealers wear down over time. But a first winter on a sealed surface with stable joints gives your new pavers a far better start than a first winter on bare, loosely filled ones.
When Is The Best Time To Seal Pavers On Long Island?
For most Suffolk County driveways, early fall is the sweet spot, mid-September through October. Sealer needs time to cure properly, and cold, damp days make that harder. Waiting until November to beat the winter is cutting it close. Exact temperature and dry-time requirements depend on the product, so we follow the manufacturer’s instructions rather than guess from the calendar. If fall slips past you, spring works too. We clean off the winter’s salt, repair the joints, and seal once conditions allow.
Where you live nudges the timing. South Shore properties in Babylon, Islip, and Bay Shore sit closer to the water table, and salt air and humidity speed up algae, mold, and sealer wear. If you’re near the bay in Bayport, Island Park, or Long Beach, plan to reseal toward the shorter end of the usual interval. Shady, tree-covered lots hold moisture longer, too, which is why north-facing walkways turn green first.
Once the sealer is down, a few winter habits help. Shovel early so you need less de-icer. Rock salt melts ice down to about 16 degrees Fahrenheit, but it can harm nearby grass, plants, and metal, so keep it where you need it. Skip magnesium-based de-icers, which are very aggressive on pavers. If the pavers look dull or start absorbing water instead of beading it, that’s your signal that the sealer is wearing thin.
How Do You Choose A Paver Sealing Company In Suffolk County?
Start with the paperwork. Licensing on Long Island isn’t one-size-fits-all. Nassau County requires a Home Improvement license through its Department of Consumer Affairs, and Suffolk, Nassau, Southampton, and East Hampton each have their own requirements. “Licensed and insured” should be something a contractor can show you, not just say. We’re fully licensed and insured, and we’re glad to walk you through it.
Next, compare scope before you compare quotes. One company may include cleaning, joint sand, and repairs while another quotes only the sealer, and those prices can’t be lined up fairly. What drives a quote is the size of the area, the condition of the pavers, the finish you choose, and whether cleaning, joint sand, or repair is part of the job. Ask what’s included, how the joints are handled, what the cure instructions are, and what aftercare looks like.
Then there’s the DIY question. Sealing yourself is possible, but the haze, wet-sealing, and leftover-sand problems we described earlier are easy to run into without the right equipment and some practice. Some homeowners do it successfully, and some call us afterward to fix it.
We’re a family-owned company based in West Babylon with nearly 50 years of combined experience, serving homes and businesses across Nassau and Suffolk. We handle the whole sequence ourselves, from cleaning and repairs to polymeric sand and sealing, so you’re not coordinating three contractors. Financing is available if that helps, and estimates are free.
Ready To Seal Your Suffolk County Pavers Before Winter?
Here’s the short version. Newly paved surfaces need cleaning first, the joints are the weak spot, and sealing is the step that keeps sand in place and slows water and salt through a Long Island winter. Not every paver needs it, and the timing matters more than most people expect. Aim for early fall if you can, and follow the manufacturer’s cure requirements.
Contact Paver Savers today to schedule your free estimate and let our family-owned team protect your newly paved surfaces before the winter freeze hits.
Article details:
- Published by:
- Paver Savers
- Published to:
- Last modified:
- November 5, 2026
Share:
Continue learning: