When to Resand Pavers and How It’s Done
Weeds pushing through the joints, sand washing away after rain, pavers starting to shift — here's what's actually happening and what to do about it.
Share:

Summary:
You notice weeds pushing up between the joints. Or the sand has washed out after a few hard rains and now some pavers rock when you step on them. Maybe the whole surface just looks worn down compared to when it was first installed. These aren’t signs that your pavers are failing — they’re signs that the joint sand is gone and needs to be replaced. Paver resanding is a straightforward concept, but getting it right takes more than a bag of sand from the hardware store. Here’s what you actually need to know.
How to Tell Your Pavers Need Resanding
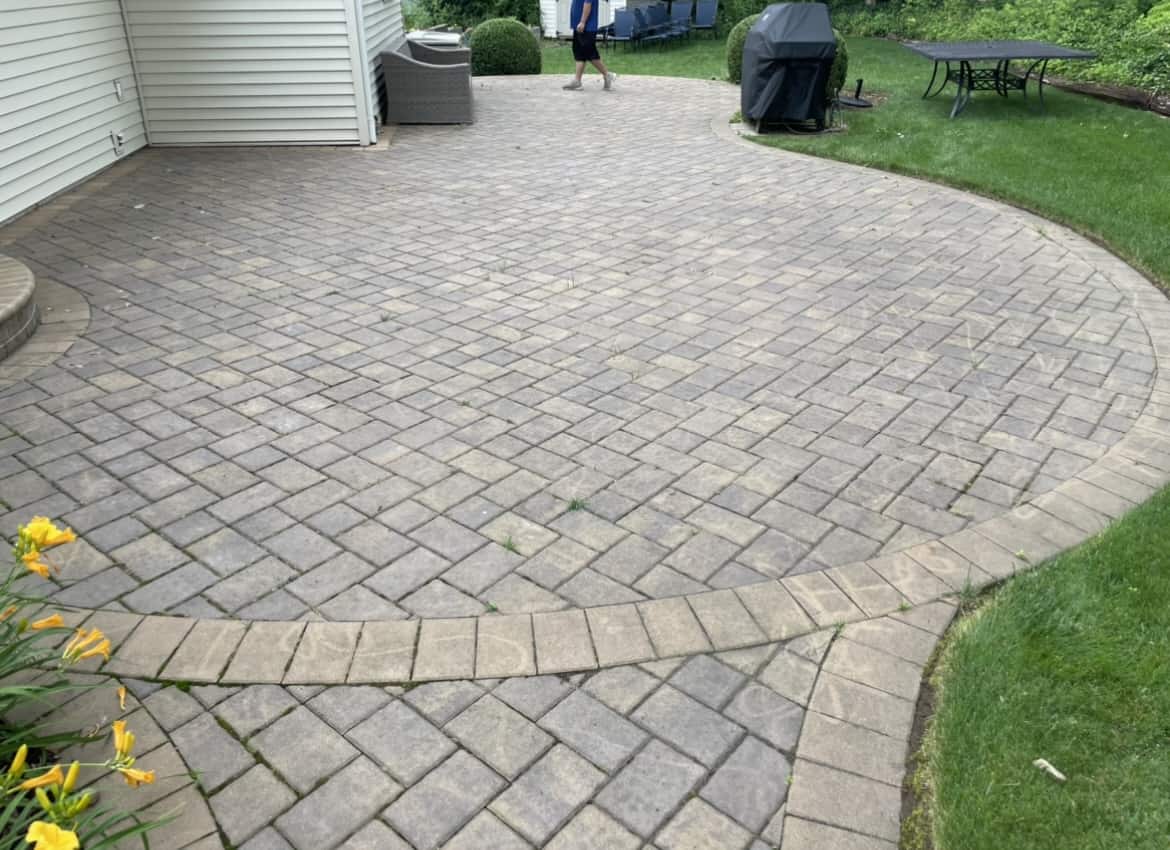
The most obvious sign is visible gaps between pavers — joints that look hollow, crumbly, or completely empty. If weeds are growing up through those gaps, that’s confirmation the sand is depleted enough that organic material has settled in and taken root. Ants building small mounds along the joints are another tell. They’re not just a nuisance — they’re tunneling through loose, unprotected sand beneath the surface.
Shifting or wobbly pavers are a more serious symptom. When joint sand erodes, the lateral support holding each paver in place disappears, and the surface starts to move. That’s both an aesthetic problem and a tripping hazard. If you’re seeing any combination of these signs, resanding isn’t optional — it’s overdue.
Why Nassau County Pavers Lose Their Joint Sand Faster Than Most
Long Island’s climate is genuinely hard on paver joints. Nassau County goes through roughly 30 to 40 freeze-thaw cycles every winter — meaning the water that seeps into your joints freezes, expands, thaws, and contracts, over and over again from December through March. Each cycle pushes the sand a little further out of place. By spring, what looked fine in October can look dramatically different.
Add road salt and de-icing chemicals into the mix — which are used heavily across Nassau County driveways and walkways every winter — and you’ve got an accelerating breakdown of joint material and an increased likelihood of efflorescence, that chalky white residue that shows up on paver surfaces after salt migrates through the stone.
For homeowners along the South Shore in communities like Long Beach, Atlantic Beach, Oceanside, Merrick, and Massapequa, salt air from the ocean compounds the problem year-round, not just in winter. Pavers near the water tend to degrade faster and need attention more frequently than inland surfaces. The same goes for North Shore properties in Great Neck, Bayville, and Oyster Bay.
Then there’s the tree canopy. Nassau County’s older neighborhoods — Garden City, Manhasset, Roslyn, Syosset — are lined with mature oaks, maples, and elms that shed debris constantly. Leaves, seeds, and organic matter settle into paver joints, hold moisture, and accelerate weed growth and algae development. Shaded paver surfaces in these areas often need cleaning and resanding more frequently than surfaces in full sun.
The short version: if you’re in Nassau County and your pavers are more than three years old without any maintenance, they almost certainly need resanding — and probably a full clean and seal while you’re at it.
Polymeric Sand vs. Regular Sand — Why the Material Choice Matters
Not all joint sand is the same, and the difference matters more than most homeowners realize. Regular jointing sand — the kind you can buy at any hardware store — is essentially just fine-grained sand. It fills the joints, but it has no binding properties. Rain washes it out. Ants tunnel through it. Weeds germinate in it. Most installations using regular sand need replenishment every one to three years, sometimes sooner in high-traffic or high-exposure areas.
Polymeric sand is a different product. It contains a blend of fine sand and polymer binders that, when activated with water, harden into a firm but flexible joint filler. It resists erosion, blocks weed germination, and closes off the gaps that ants use to tunnel beneath the surface. When professionally applied, polymeric sand can last up to ten years — a meaningful difference compared to regular sand’s short lifespan.
It also handles Long Island’s freeze-thaw cycles better than regular sand. As temperatures drop, polymeric sand becomes slightly flexible rather than cracking — which means it moves with the pavers through seasonal shifts instead of breaking apart and leaving gaps.
The catch is that polymeric sand is less forgiving to apply than regular sand. It has to go down on completely dry pavers — any moisture on the surface causes it to activate prematurely and bond to the face of the stone instead of filling the joints. It needs to be compacted properly into the joints before activation. And it requires a precise misting during the water activation step — too much water washes the polymers out of the joints, too little means the sand never fully hardens. These are exactly the points where DIY applications go wrong, and why a job that looks straightforward on paper can produce poor results without the right experience and equipment.
Resanding Pavers: The Full Process From Start to Finish
Resanding doesn’t happen in isolation — it’s one step in a sequence, and skipping what comes before it undermines the results. The process starts with a thorough surface cleaning, moves through joint preparation and sand application, and ideally ends with sealing to lock everything in place. Each step depends on the one before it.
Understanding the full sequence helps you evaluate whether a contractor is doing the job right — or cutting corners that will cost you later.
Best Way to Clean a Paver Patio Before Resanding
Surface preparation is where the quality of a resanding job is actually determined. Applying new polymeric sand to a dirty, stained, or organically contaminated surface is like painting over rust — it looks fine briefly, and then the underlying problem reasserts itself.
The right approach starts with removing as much of the old, degraded joint sand as possible. Leaving old material in place interferes with the bonding of new polymeric sand and reduces how long the resanding holds up. This typically involves a combination of blowing out the joints and using professional pressure washing equipment to flush out what remains.
The cleaning itself needs to be done with commercial-grade hot water pressure washing equipment — not a consumer machine from a big box store. We use a professional 20-inch surface cleaner that applies even, consistent pressure across the entire surface without the streaking or surface damage that a handheld wand can cause. Hot water matters because it breaks down organic material, algae, mold, and embedded staining far more effectively than cold water at the same pressure.
Before the general surface wash, specific problem areas get pre-treated. Oil stains, rust spots, and efflorescence each require targeted specialty cleaners — a general pressure wash won’t fully remove them, and leaving them in place affects both appearance and the adhesion of sealer later on. Efflorescence in particular is common in Nassau County homes due to road salt migration, and it’s one of those problems that looks worse the longer it’s ignored.
After cleaning, the surface has to be completely dry before any polymeric sand goes down. That’s not a suggestion — it’s a hard requirement. Applying sand to damp pavers causes premature activation and surface bonding, which means you end up with a hazy, hardened residue on the face of your pavers instead of clean, filled joints. Depending on weather conditions, drying time can range from a few hours to a full day. This is one of the reasons we schedule jobs around the forecast rather than just the calendar.
DIY Paver Resanding vs. Hiring a Professional — What's Actually Worth Doing Yourself
This is the honest version of that conversation. Some homeowners successfully resand their own pavers, and it’s worth understanding what makes the difference between a project that holds up and one that fails within a season.
The DIY approach tends to work reasonably well when the surface is in good condition, the pavers are dry, the weather cooperates, and the right polymeric sand product is used. Where it falls apart most often is in the details: applying sand to pavers that aren’t fully dry, using the wrong product, over-watering during activation, not compacting the sand adequately into the joints before misting, or applying new sand over old degraded material without removing it first. Any one of these mistakes produces a result that looks fine initially and then fails — sand that never hardened, hazy residue on the paver surface, or joints that wash out again after the first heavy rain.
The equipment gap is also real. A consumer pressure washer doesn’t clean at the same depth as commercial hot water equipment, which means the surface going into the resanding step isn’t as clean as it needs to be. And if your pavers have specific staining issues — efflorescence, oil, rust — a standard pressure wash won’t address them.
For Nassau County homeowners with pavers that are more than a few years old, heavily stained, structurally compromised, or made from natural stone or travertine (which have different joint widths and porosity than concrete pavers), professional service is the more reliable path. The cost of professional clean, resand, and seal work is a fraction of what full Paver replacement runs — which in this market typically falls between $8,000 and $12,000 for a standard residential surface. Maintaining what you have is almost always the smarter financial decision.
After resanding, the surface should be left undisturbed for at least 24 to 48 hours before foot traffic, and longer before vehicles. Sealing should wait approximately 28 days to allow the polymeric sand to fully cure and any remaining efflorescence to surface before it’s locked in. That sequencing matters — and it’s another reason why treating resanding as a quick afternoon project often leads to disappointing results.
When Is the Right Time to Resand Pavers in Nassau County?
Spring is the natural window — after winter’s freeze-thaw cycles have done their damage and before summer entertaining season begins. If your pavers went through another Long Island winter with depleted joints, now is the time to assess them. Look for visible gaps, weed growth, shifting stones, or sand that’s clearly washed out of the joints. Any of those signs means the work is overdue.
Most Nassau County paver surfaces benefit from professional attention every two to three years. Surfaces near trees, in shaded areas, or close to the water may need it more frequently. The goal isn’t just appearance — it’s protecting the structural integrity of the installation and avoiding the far larger cost of replacement down the road.
If you’re not sure where your pavers stand, we’re happy to take a look. We’ve been restoring paver surfaces across Nassau and Suffolk Counties for years, and we can tell you honestly what your surface needs — whether that’s a full clean, resand, and seal or something more targeted.
Article details:
- Published by:
- Paver Savers
- Published to:
- Last modified:
- August 17, 2026
Share:
Continue learning: